The list views on various modules like the RFI, Submittals, Change Orders, Punch list, etc., enable you to tailor custom views, displaying data categorized, filtered, and organized according to your specific criteria and requirements. Customized views allow users to focus on what they need, streamlining data analysis and improving decision-making.
- Each view is constructed with filter rules and/or grouping rules to pick and show the appropriate rows with a desired organization.
- You can share the views you create with other users in the construction team by setting up access rights.
- You can also access the views created by other users and shared with you
Use the links to jump to the section you need help with:
- Clone a View
- Create a Custom View
- Enable/Disable a View
- Share a View
- Rename a Custom View
- Edit a Custom View
- Delete a Custom View
The processes of creating, managing, and sharing custom views are similar across all table views. In this article, we use the T&M Log view as an example, but the same method can be applied to any table, allowing you to create custom views as required.
Clone a View
The cloning option allows you to use an existing view as a template and create a new view from it.
- Open the source view by selecting the respective tab
- Click on the
 icon near the respective tab and select 'Clone' from the options
A clone of the chosen view is created. You can rename the view as required. See
- Edit the filtering rules and the grouping structure as required
- See Filter Options in List Views for help in applying filter rules
- See Group and Organize Items in a List View for help in applying the grouping structure
Create a Custom View
- Ensure that the list for which you want to create a custom view is open.
- Select columns, apply filters and grouping as required to drill down the rows to show in the custom view and the organization pattern.
- See Customize Columns in List Views for help in column selection
- See Filter Options in List Views for help in applying filter rules
- See Group and Organize Items in a List View for help in applying the grouping structure
- Click the
 button from the tool bar at the top left to create the custom view with the applied filter rules and the grouping structure
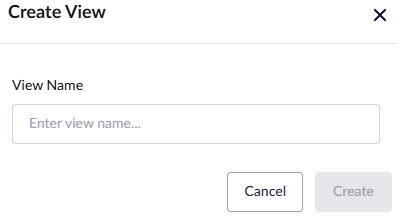
- Enter a label for the custom view, shortly describing it
- Click 'Create.'
The custom view gets created and shown as a tab above the table.
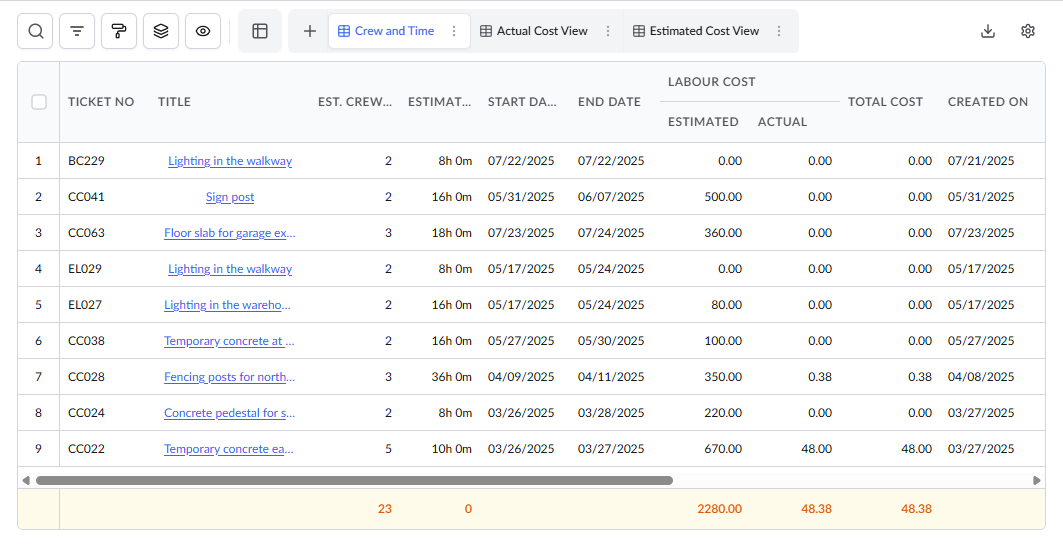
You can also rearrange the tabs to appear in the order you want
- Click the
 on the top-right
 - Hover your mouse over a tab, grab on the vertical ellipses that appear on the left, drag and drop the tab to the desired location
Enable/Disable a View
You can select the views to be shown as tabs and choose to hide unwanted views from the view manager
- The disabled views do not appear as tabs but are not deleted from the grid
- Any changes made to the current view through filtering or grouping will be autosaved
To enable a view
- Click the on the top-right
The pop-up shows the views that you created and those shared with you.
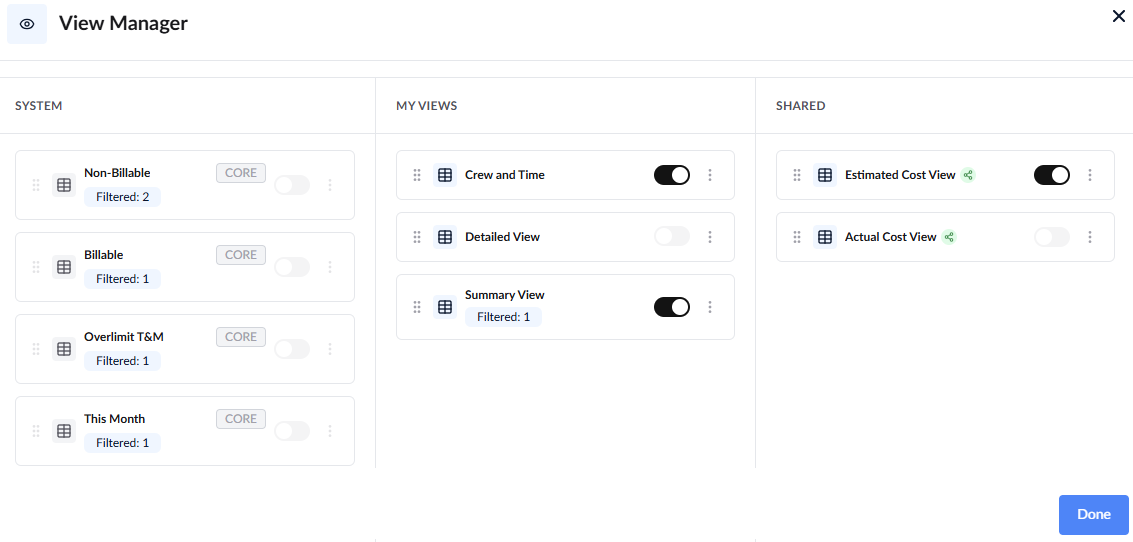
- Enable the desired view by switching the toggle button next to it.
To hide/unpin a view
- Click the on the top-right
- Click the toggle button to disable the required view and click the 'Done' button at the bottom.
Share a View
You can set up access levels for the views you create to make them accessible to certain groups of construction team members.
- Ensure that the view you want to share is currently active. If not, click on the respective tab to open it.
- Click the share button
 on the top-right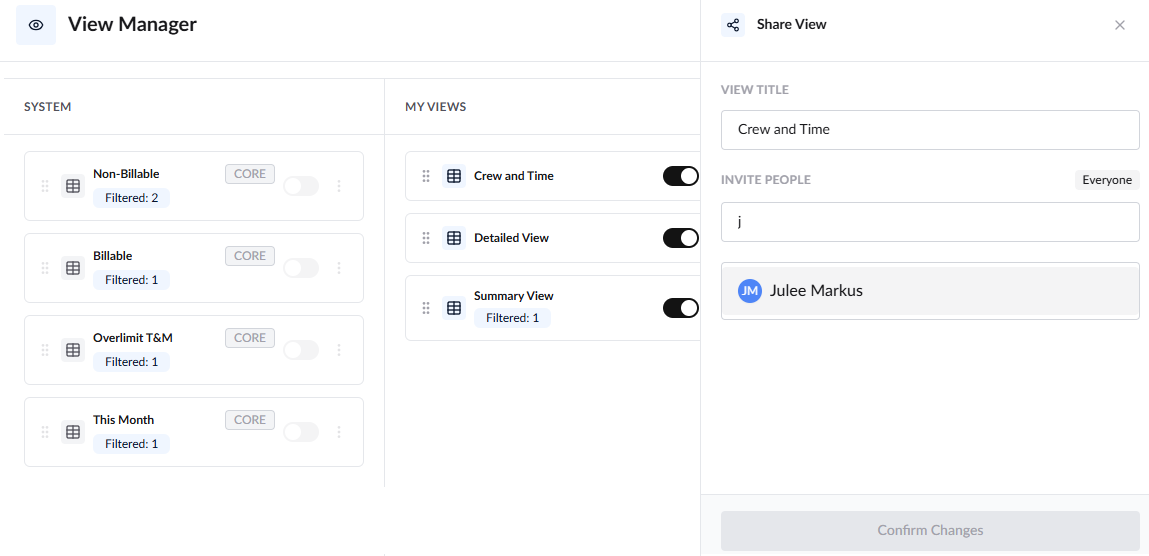
Once shared, the people with whom you have access can pin the view on their schedule grid.
Rename a Custom View
You can change the name and edit/update the filter rules and/or the grouping parameters of the custom views you created. But you cannot edit the views created by others and shared with you.
To edit the name of a view
- Ensure that the view you want to share is currently active. If not, click on the icon near the respective tab
- Click 'Rename' from the options
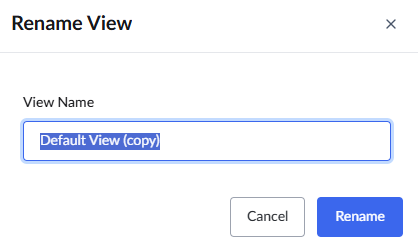
- Enter a new name and click 'Rename' for your changes to take effect
Edit a Custom View
- Ensure that the view you want to share is currently active. If not, click on the respective tab to open it.
- Click the filter icon
 to change the filtering rules as required
- See Filter Options in List Views for help in applying filter rules
- Click the group icon
 icon to change the grouping structure as required
- See Group and Organize Items in a List View for help in applying the grouping structure
Your changes are auto saved.
Delete a Custom View
- Ensure that the view you want to share is currently active and click on the icon near the respective tab
- Click 'Delete' from the options
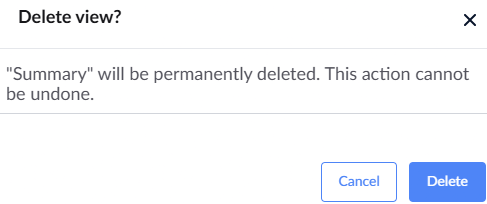
- Click the 'Delete' button to confirm your action
Was this article helpful?
That’s Great!
Thank you for your feedback
Sorry! We couldn't be helpful
Thank you for your feedback
Feedback sent
We appreciate your effort and will try to fix the article