The scheduler grid shows up with the default columns as shipped with Linarc. But you can customize the table by adding more columns or removing existing columns and rearranging the order of columns. These customization options make it easier to focus on the most relevant information and organize details in a sequence that aligns with your priorities.
You can also include your column customization to create custom views of the grid to show the items organized in a specific manner. See Manage Custom Grid Views to learn more.
You can:
Configure Table Preferences
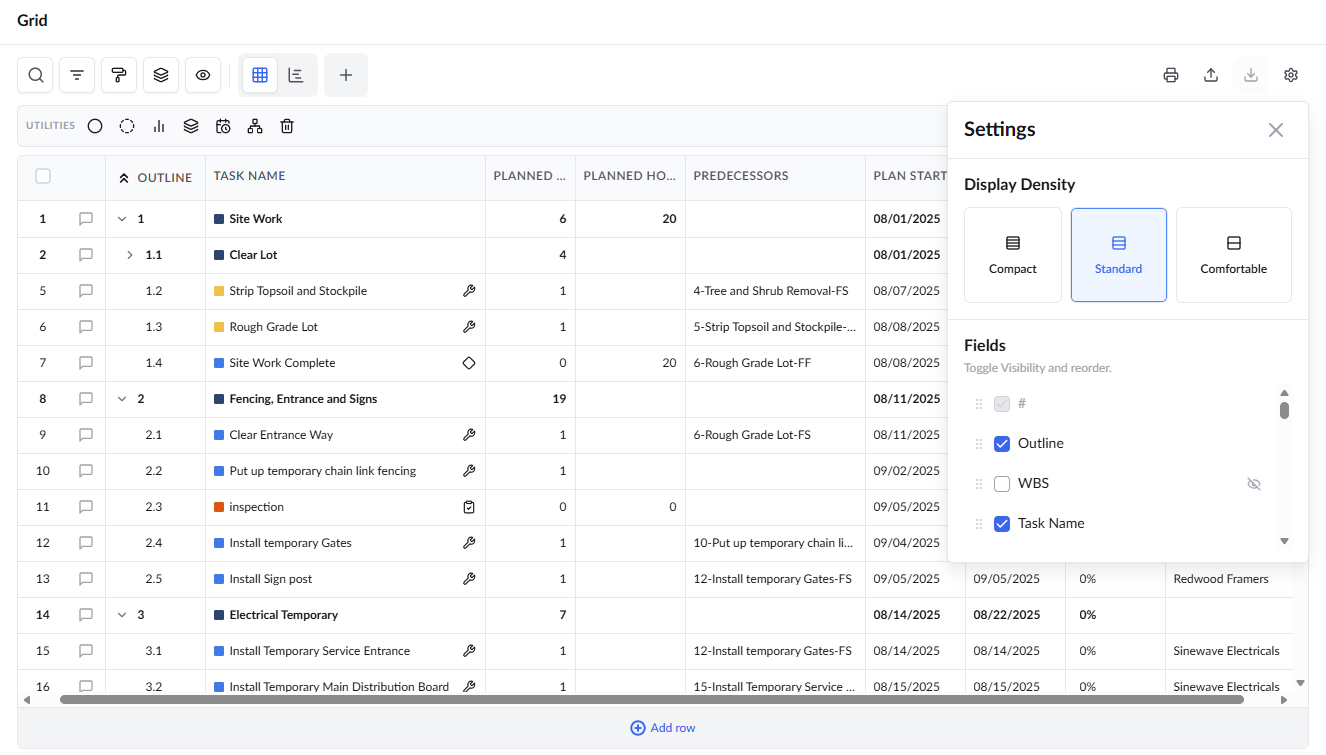
Table spacing can be adjusted to suit your viewing preferences. The number of rows of data visible in the table will automatically adjust according to the selected display density and your current screen. There are three options available: Compact, Standard, and Comfortable.
By default, the display density is set to Standard.
- Click the
 at the top right
 - Select the desired table spacing under display density
Select and Customize Columns
- Click theat the top right
The bottom pane shows all available columns.
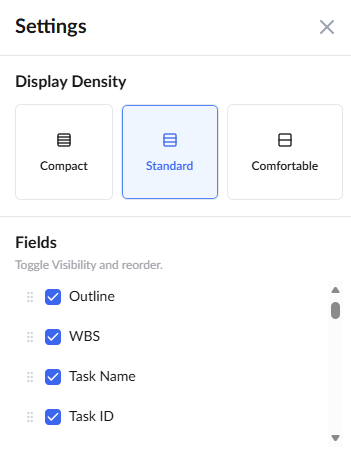
- Select the rows to be shown on the table. The selected rows are added to the list on the right
- After enabling the required columns, arrange the columns by dragging and dropping them to establish the desired order for their appearance in the table.
Was this article helpful?
That’s Great!
Thank you for your feedback
Sorry! We couldn't be helpful
Thank you for your feedback
Feedback sent
We appreciate your effort and will try to fix the article